
 Back
Back



Steps for Applying a Domed Label

Step 1
Clean the assembly area and any assembly fixtures/tools to ensure that they are free of contaminants (dust, oils, wax, silicones, moisture, etc).

Step 2
Remove all contaminants (dust, oils, wax, silicones, moisture, etc) from the bonding surface. Use isopropyl alcohol/water (minimum 50% isopropyl alcohol) if cleaning of the bonding surface is required.

Step 3
Confirm that the emblem and bonding surface temperatures are both above 50 degrees Fahrenheit at the time of emblem application.

Step 4
Remove the emblem from the original liner and place it directly on the bonding surface. Do not place the adhesive side of the emblem on any surface other than the final bonding surface after the emblem has been removed from the liner. Avoid contaminating the emblem adhesive by touching it with any assembly fixtures/tools, fingers, gloves, etc.

Step 5
Apply the emblem to the bonding surface in a rolling manner to prevent air entrapment.

Step 6
Once the emblem is attached to the mounting surface, apply additional pressure perpendicular to the emblem with a roller or other source of direct pressure. Apply pressure to all areas of the emblem with particular attention to edges. Use tools made of urethane rubber so they will not damage the part. This pressure will maximize adhesive contact between the emblem and bonding surface.

Step 7
The emblem adhesive will continue to cure and strengthen for a period up to 72 hours.

Step 8
When storing any emblems and labels for future use, pack them such that emblems are not touching urethane to urethane. Store them in the same packaging configuration in which they were delivered from Auld Technologies LLC.
More Auld Insights

Protect and Enhance Your Label With Doming
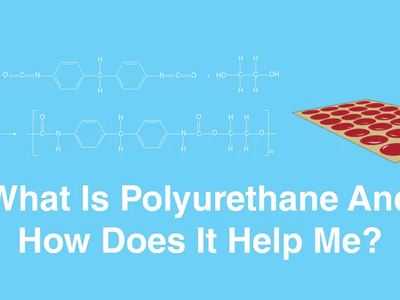
What is Polyurethane and How Does It Help Me?

Join Our Mailing List
Stay a step ahead! Don't miss out on the latest in branding innovation, product and service updates, and industry insights. Sign up to be a part of our Auld community.
Thank you for joining our mailing list!

